
How to pair an adjustable bed remote control when the original handset is lost
Published 2026-11-20 · 5 min read
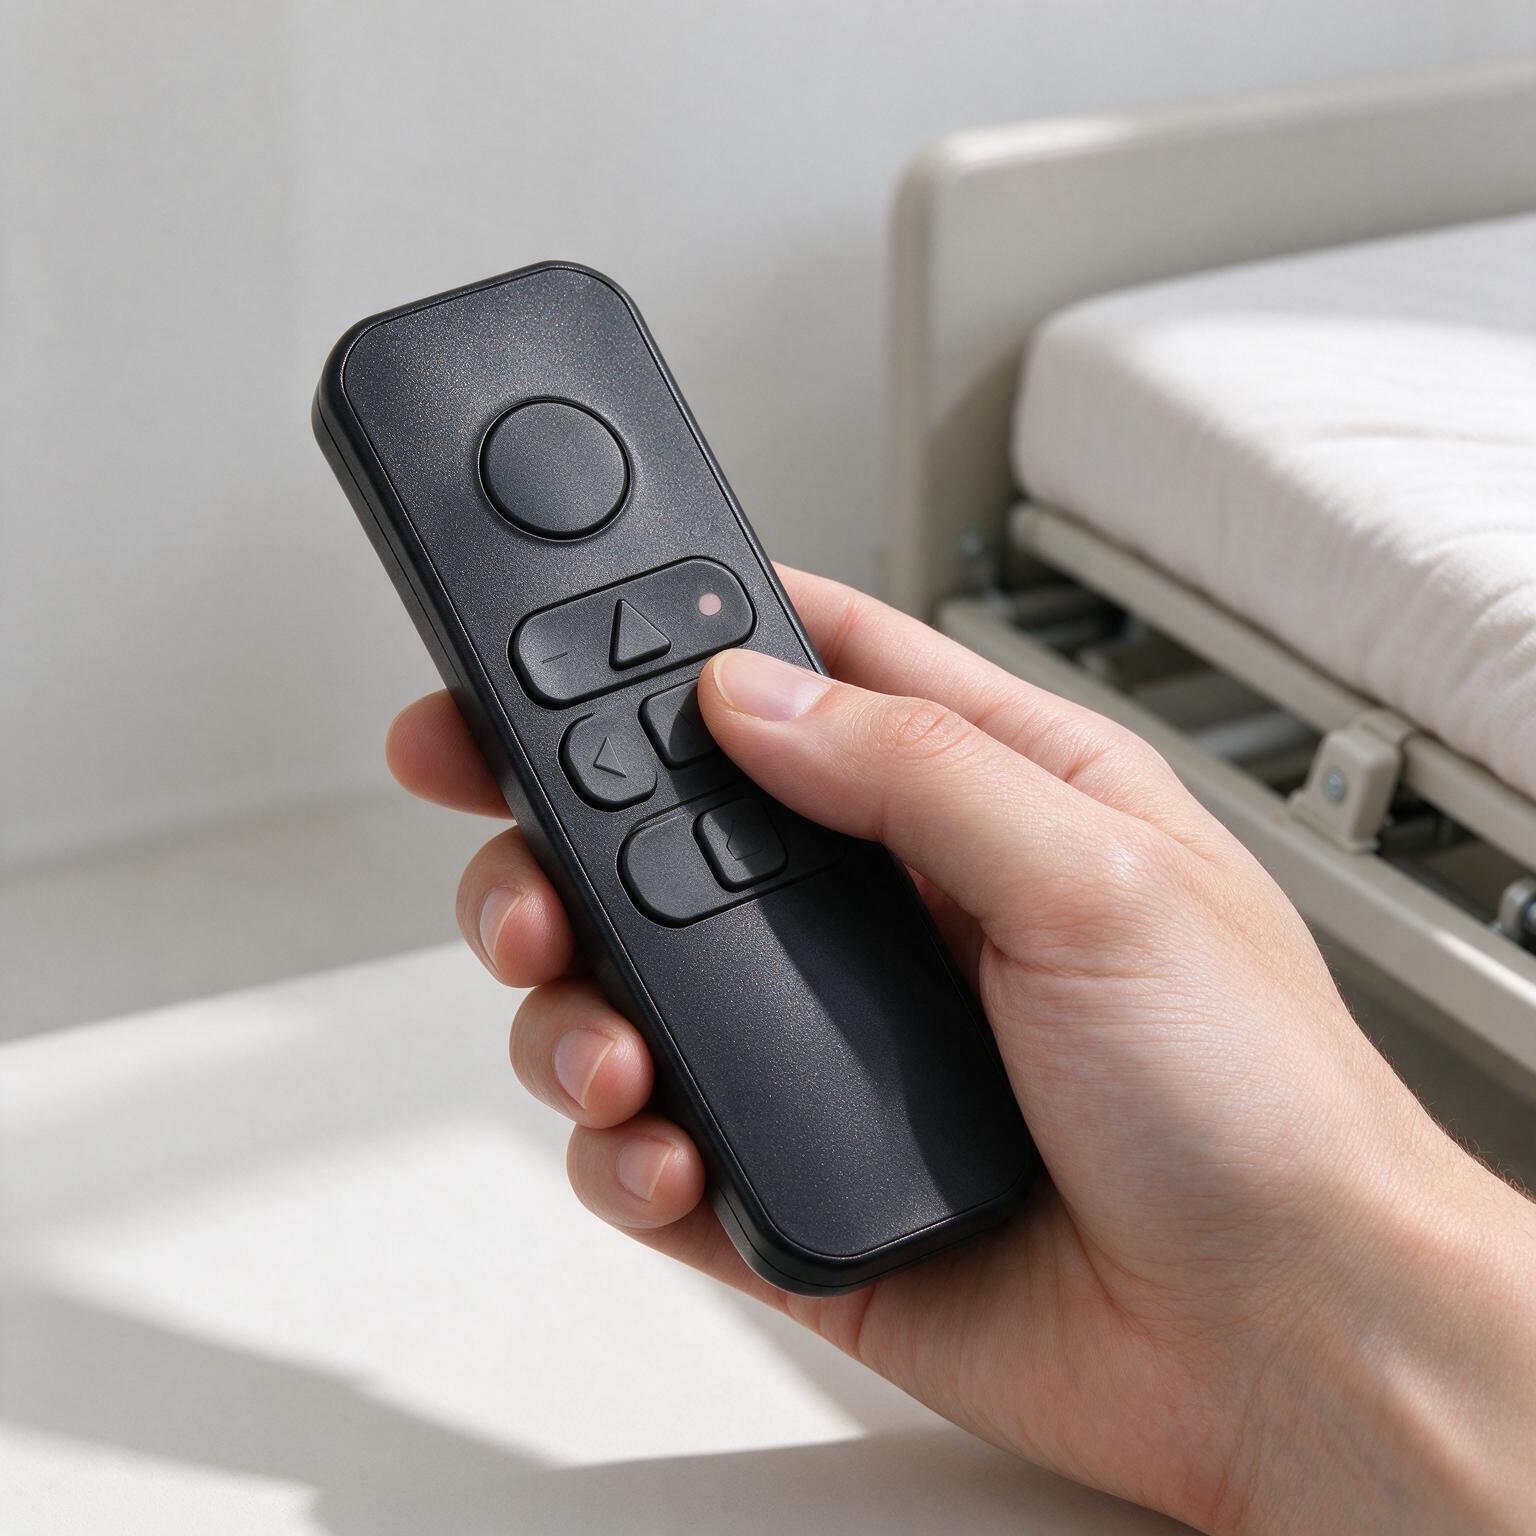
Before You Touch a Button: Decide Who Owns the Pairing Protocol
More remote replacements stall on this question than on any RF problem: who controls the pairing rules, the bed's control-box maker or the remote supplier? Settle it before you buy hardware. If the control box is a closed proprietary design, the remote has to be built to that maker's pairing specification — channel map, handshake, timing. If the protocol is open or documented, you can source a generic handset and pair it yourself. Get this wrong and you'll buy handsets that transmit on the right frequency but never complete the handshake. That's a return, not a fix.
Why deal with it first? Because it sets the whole bill of materials. A closed protocol means a custom adjustable bed remote control built to a fixed specification, with a longer lead time and a tooling cost. An open protocol means an off-the-shelf handset you can stock and pair in the field. On a first order the two routes can differ by thousands of pounds, and by several weeks of lead time. You won't know either figure until you have the protocol in writing — from the control-box supplier, not from the previous installer.
Ask for the pairing document before you request a quote. If it doesn't exist, that is your answer: you're on the custom route. Confirm it in writing, with the control-box model number and firmware revision. A box revision can change the pairing behaviour without any change to the part number on the label.
Read the Label on the Bed Frame, Not the Old Handset

The old handset tells you what was fitted, not what the control box expects. Handsets get swapped, borrowed and mislabelled. The control box is the authority. Find its label — usually on the box screwed to the frame, sometimes under the bed near the motor harness — and record four things:
- Control-box model number and firmware revision
- Radio band and modulation (for example 433 MHz or 2.4 GHz; ASK or FSK)
- Whether the box is paired to a fixed ID, a rolling code, or a learn button
- Any channel or address set by DIP switch on the box
On twin, queen and king frames the control box is often one unit driving two or more actuators, so a single handset may address the head and foot sections separately. Note how many channels the box exposes. A two-channel box paired to a four-button handset will leave two buttons dead — a failure mode you can catch at the label stage.
Pass/fail criterion: you can photograph the control-box label and read the model number, firmware revision and radio band without removing the box from the frame. If any of the three is illegible or absent, stop and get it from the bed manufacturer in writing before ordering.
Match the Radio Standard Before You Buy Anything
Two handsets on the same frequency can still refuse to talk. The gap is usually modulation or coding, not frequency. A 433 MHz handset using amplitude shift keying will not pair with a 433 MHz receiver expecting frequency shift keying, even though the band matches. Rolling-code versus fixed-code works the same way: a rolling-code handset will not complete a handshake with a fixed-code receiver.
Build the compatibility table before you place an order. It takes an hour and saves a container of dead stock.
| Attribute | Must match on | Typical failure if wrong |
|---|---|---|
| Frequency band | Exactly (433.92 MHz vs 2.4 GHz) | Handset transmits; box never receives |
| Modulation | ASK or FSK, matching receiver | Signal present but undecodable |
| Coding scheme | Fixed, rolling, or learn-button | Pairing appears to start, then drops |
| Channel count | Handset ≥ box channels | Dead buttons on multi-actuator beds |
| Address / DIP set | Same address range | Handset binds to a neighbouring bed |
Pass/fail criterion: every row in the table has a documented value from the control-box supplier, and your proposed handset matches each one. If a supplier cannot state the modulation, treat it as a mismatch and do not order.
Run the Pairing Sequence and Confirm the Handset Talks to the Control Box

Pairing procedures vary by box, but the sequence is broadly the same: put the box into learn mode, send the handset code, confirm the box accepts it, then test each channel. Do this on the bench before the bed is assembled, and again on the frame, because frame metal can change the RF environment.
- Enter learn mode on the control box. Most boxes use a recessed button held for 2–5 seconds until an LED flashes. Some require mains power cycling first.
- Press the handset button within the learn window. Windows are typically 10–30 seconds. Miss it and the box exits learn mode; repeat from step one.
- Confirm acceptance. The box LED should give a distinct confirmation — a double flash or steady change — not just stop flashing. A box that stops flashing without confirming has rejected the code.
- Test every channel. Head up, head down, foot up, foot down, and any preset or memory button. Each must move the correct actuator in the correct direction.
- Record the paired address. Write the handset address and box model on a label inside the frame, so the next technician does not repeat the diagnosis.
Pass/fail criterion: all channels respond on the first press, at a distance of at least 3 metres with the handset outside the frame. If any channel needs a second press or only works within a metre, the pairing is not complete — treat it as a fail and re-check the radio match.
Programme the End Stops and Lock in the Travel Limits
Pairing gets the handset talking. End-stop programming keeps the bed from damaging itself. Most adjustable-bed control boxes store travel limits per actuator, and a fresh pairing can reset those limits to default — which is why a bed that worked for years suddenly drives too far after a handset swap.
Set the limits with the handset in programming mode, moving each section to its physical stop and saving the position. On most systems this is a two-button hold for 3–5 seconds per limit. Do the head and foot sections separately. If the frame allows, take the mattress off first, so you're seeing the true mechanical stop rather than the loaded position.
Pass/fail criterion: drive each section to its limit three times. The actuator must stop at the same point within a few millimetres each time, and must not stall, click, or reverse at the limit. Any variation means the limit did not save — repeat the programming step.
Where Pairing Goes Wrong on Real Beds
The failures cluster in a few places. A common one is a control box that has learned more addresses than it can hold. Many receivers store a fixed number of handset IDs — often four to eight — and once full, a new handset appears to pair but is silently dropped. The bed works for a day, then stops responding to the new handset. Clear the box's memory before pairing; don't sit there pressing buttons.
Interference is another. In hotel rooms with beds back to back, a handset paired on a fixed code can trigger the wrong bed through the wall. Rolling-code systems avoid this, but only if the pairing was done with the box isolated — unplug the neighbouring bed or pair at a distance during commissioning.
Then there's the frame itself. Metal bed frames and thick headboards attenuate 433 MHz more than 2.4 GHz, and a handset that passed the bench test can fail once bolted inside a steel frame. Test from the sleeping position, not from the foot of the bed. If the signal is marginal there, a 2.4 GHz system or an external antenna placement is the realistic fix — and that's a sourcing decision, not a programming one.
Verifying the Pairing Holds: The 10-Cycle Test and What to Record
A pairing that works once is not a pairing that works. Run a cycle test: ten full up-and-down cycles on each channel, at the sleeping position, with the handset at arm's length and then at the far side of the room. Ten cycles is enough to expose a rolling-code desync or a memory overflow; a single press is not.
Record the result on a commissioning sheet. For each bed, log the control-box model and firmware, the handset address, the channel count, the travel-limit positions, and the pass/fail of the 10-cycle test. That sheet is your measurable signal — it tells you, six months later, whether a callout is a new fault or a pairing that never held.
Pass/fail criterion: all ten cycles complete on the first press of every channel, at both distances, with no missed commands and no travel-limit drift. One failure in ten sends the bed back to the radio-match check. When the sheet is clean across the fleet, the pairing is verified — and you have a record to prove it.
If the protocol turns out to be closed and the existing hardware cannot be matched, the practical route is to brief a supplier on the control-box specification and the volumes, and confirm lead time and tooling before committing. For that conversation, the contact is peter.sun@serow-tech.com; replies come back within one working day.
More from the newsroom
Keep reading.
Three other notes from the same team.
Start a project
Send the control target, not a catalogue request.
Tell us what the remote has to control, which radio the installed base uses, and where it ships. We will reply with the questions that decide the architecture.